Showing posts with label quick prep. Show all posts

Thursday, June 23, 2011

Quick Cobbler

This is one dessert I always look forward to. And it is always best with a big scoop of vanilla ice cream! ;)


1 stick of melted butter
1 c sugar
1 c flour
1 tsp baking powder
1/2 tsp salt
2/3 c milk
1 can pie filling- whatever flavor you want!

Melt the butter in a casserold dish. Mix in remainging ingredients (minus the pie filling). Pour the the pie filling in the middle of the mix- Don't stir or cover it up. The cobbler will cook up over the fruit.

Bake at 350 degrees for 1 hr or until the top is golden brown and set in the middle.

Enjoy!!

Monday, April 18, 2011

Meatball Sub


This was something I had wanted to try making myself for a long time, and it was actually very easy and extremely tasty :) Since these sandwiches are very filling and makes a ton of sandwiches, these are perfect for a large family. The best part is that you can also freeze the meatballs and use them later if you don't have a lot of people to feed at once.

What you need:

(for meatballs)
1 lb ground beef
1/2 c grated parmesan cheese
2 Tbsp chopped onion (fresh, not dried minced)
1 garlic clove, minced
2 tsp basil
1/2 tsp salt
1/2 tsp pepper
1 large egg, lightly beaten

french bread
marinara sauce
mozzarella cheese

Combine meatball ingredients in a large bowl, mix well. Shape mixture into small balls (about 1 in)

You can cook them two ways. Either bake them at 375 for 20-30 min, turning over halfway thru the baking time. Or, cook the meatballs in skillet with oil for 8-10 minutes, turning often to avoid burning. Baking helps them to not be so greasy so I use that method for the sandwiches. Makes about 4 dozen meatballs.

Slice your french bread in half and spread a little olive oil on the inside. place them on a pan (with foil for easy cleanup) and broil on low for 1-3 minutes, or just until lightly toasted. Place a few meatballs on each slice, cover with marinara and mozzarella cheese and broil until cheese melts and sauce is hot.

Grab a handful of napkins and enjoy!!

Wednesday, October 27, 2010

Butternut Squash Soup


This recipe was shared with me by an awesome lady who lives down the street. She is always talking about these yummy recipes she makes and this is the first one I've tried from her. And I've gotta tell ya, I'm going to need ALL her recipes if they are as good as this :) Mmm...

Here's what you need:

1 Butternut Squash
1 apple
1 onion
2-3 carrots (or about 1 1/2 cup baby carrots)
Chicken stock (about 2 cups)
Nutmeg or Curry
Brown sugar

Preheat your oven to 350. Place squash on a cookie sheet (put foil down to help with cleanup). Poke a few holes in the squash with a knife and bake for 1 hour or until it is soft. (You don't need to peel or cut it up. Just poke it and toss it in the oven!) To check softness, poke the squash with a fork on the end closest to the stem. (The bottom half is semi-hollow where all the seeds are). Take out of oven and let cool. Once cool, cut the squash in half length-wise, scoop out all the seeds and throw them away. Scoop out all the flesh off of the skin into a bowl and set aside.

*I baked my squash in the morning and let it sit on the counter to cool for a few hours. It seemed a lot easier that way.

Peel and chop the apple, onion and carrots. In a pot, saute the apple, onion and carrots in olive oil until they're soft.

Puree veggies and cooked squash with chicken broth in a blender, food processor, or with an emulsion blender right in the pot, til smooth. If you're using the blender or food processor, don't forget to vent the lid so you don't get an explosion in the kitchen ;)

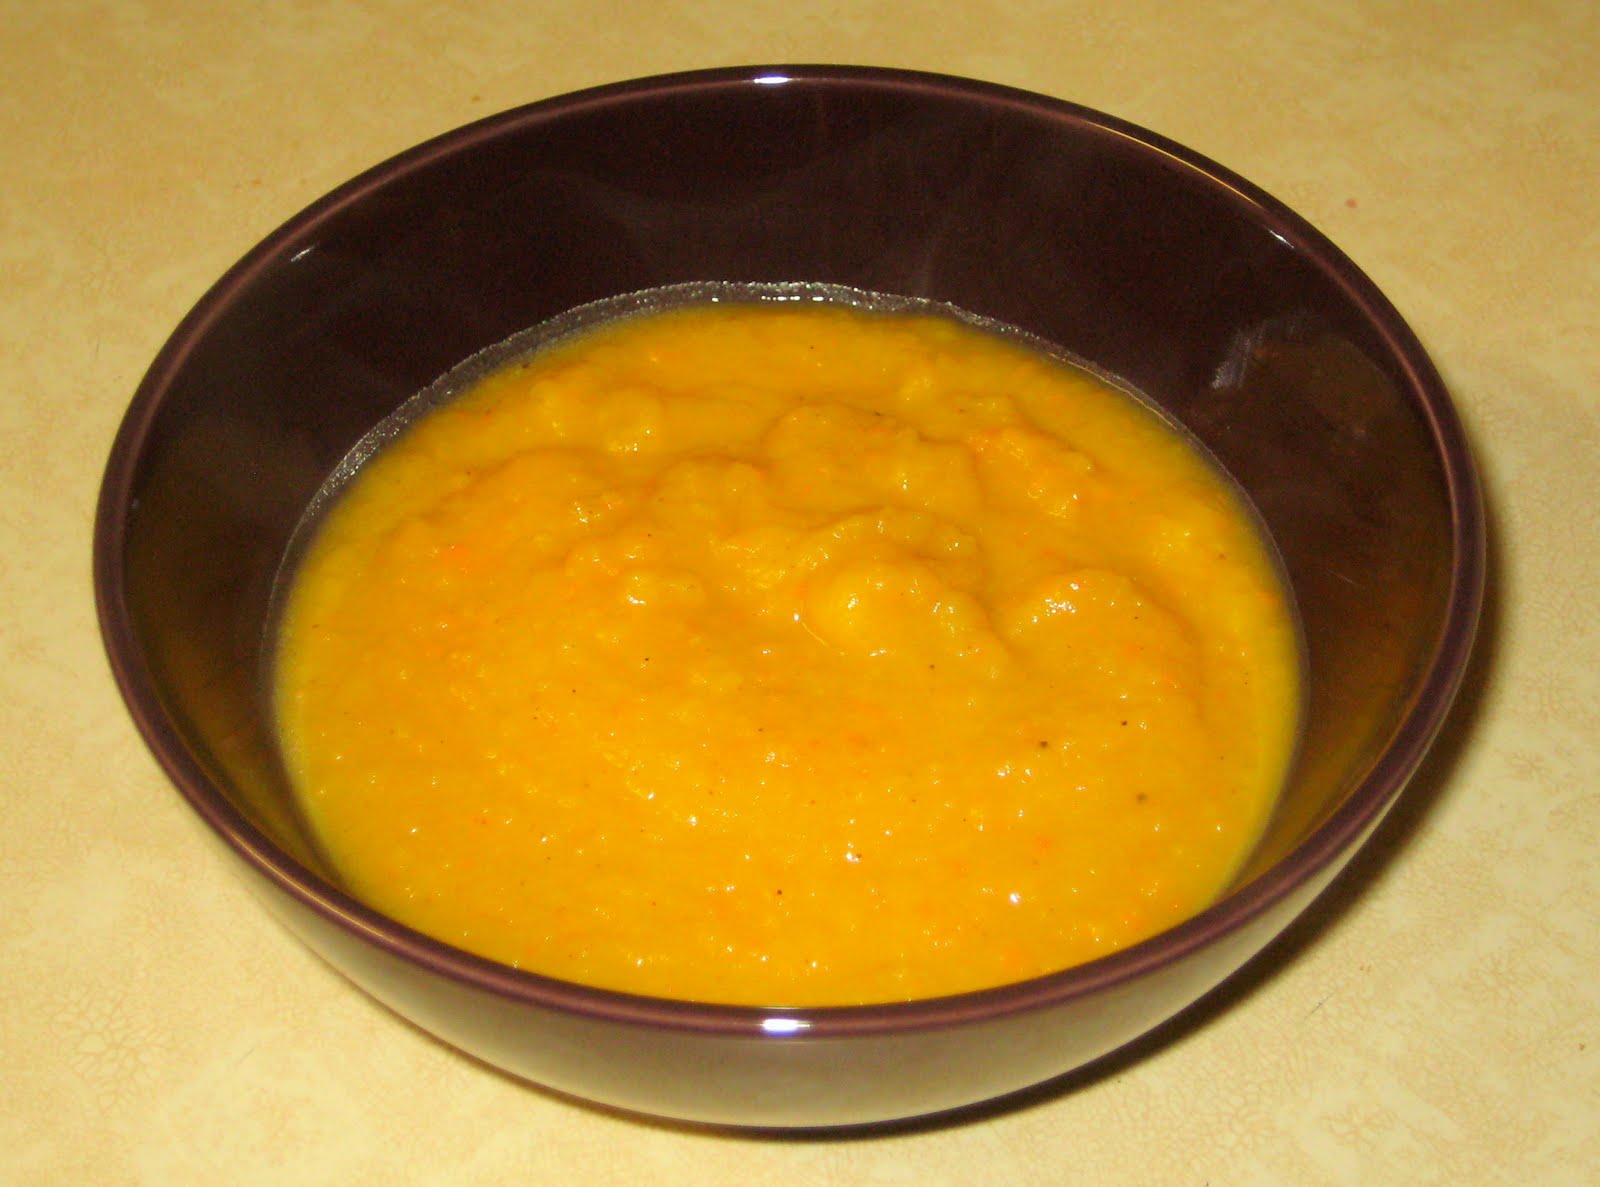
Season with salt and pepper, brown sugar, and nutmeg or curry (we did nutmeg) and heat thru. Just add the spices to your taste preference.

Enjoy! Thanks, Ingrid for sharing this with me. I'm definitely going to be trying the rest of your recipes in the future!

Wednesday, September 1, 2010

Homemade Pancakes


We like to have breakfast for dinner at least once a week at our house. And although we try to mix things up by having different styles of eggs, and sometimes french toast, our main B4D meal is pancakes.

But honestly... I'm not such a huge fan of the "just add water" variety even though that's what we always use. We like to add vanilla or other things to the mix to make them taste better, but there's just something off, ya know?

A few months ago I was visiting my sister and they have a family tradition that they eat pancakes (or waffles) for dinner EVERY Sunday. And they know how to mix things up! They had a few different recipes to try and I gotta tell ya, they were fabulous!

I'm sure I'll share some of the other recipes with you someday, but today I'd like to share the recipe that I will now use instead of buying the nasty pre-made stuff: a very simple, homemade, good old fashioned pancake mix.

Ingredients:

2 cups milk
3/4 cup white sugar
2 eggs
1 teaspoon vegetable oil
1 teaspoon vanilla extract
2 cups all-purpose flour
1 1/2 tablespoons baking powder

Mix them all together until the batter is no longer lumpy. Have a pan warming up on the stove to medium heat and spray with non-stick spray. Add 1/4 c of batter and wait til most the bubbles pop and flip over. Let cook a minute or two more and you're done!

Toss on your favorite fruits, cream or syrup and enjoy!! MMMmmmmm....

Monday, August 16, 2010

Homemade Potato Chips


My mouth is watering just thinking about these... mmmmm.... This is a pretty quick recipe to make as far as prep and cooking goes, but it does require some time to chill in the fridge. So make sure you plan ahead.

Start out peeling a few potatoes (not that many, maybe 3 or 4 if there is only a few of you).

Thinly slice your potatoes. If you have a mandolin, it'll be a lot easier to get a consistant size, but we've used a knife just fine.

Soak your chips in a bowl of cold water in the fridge for at the very least 10-15 minutes. But the longer you let them soak, the better they'll taste. I think they taste great if you let them soak around 45 min-1 hr.

Pull out your chips and dry them off on some paper towels. Have some vegetable oil heating up on med-high heat and put in a few chips at a time. If you put too many in at once, the temperature of the oil will drop too quickly and you won't get a crispy chip. Only let them sit until the edges start to get brown and pull them out. (They won't be completely cooked yet) After you've done this to all your chips, give them another dip in the oil just like before. Put them in a bowl with some paper towels to soak up the extra oil and sprinkle some salt on them.

Serve warm and enjoy! They taste a lot like french fries so if you want to dip them in ketchup, go right ahead :)

Wednesday, April 14, 2010

No-Bake Cheesecake


Mmm... yet another cheesecake recipe. I'm telling you, if you don't like cheesecake, this might not be the blog for you because I'm pretty sure at least 75% of my desserts will be some form of cheesecake ;)

And once again sorry for the slightly blurry picture... My camera just isn't so awesome sometimes.

This recipe is fast (except for refrigeration time of course) so it's perfect for if you know you're having company over and want to have a delicious dessert, make it in the morning before work and it'll be ready and waiting for you when you get home.

What you need:
2 8 oz packages cream cheese
1/2 of an 8oz tub of Cool Whip
1/3 cup + 2 Tbsp sugar
1 tsp vanilla

1 graham cracker pie crust

Soften the cream cheese in the microwave for about 10-15 seconds. Blend on med-high speed with an electric mixer into a creamy texture. Add sugar and vanilla and mix well. Fold in cool whip and stir gently with spoon until well blended. Spoon into pie crust and spread evenly. Refrigerate at least 3 hours.

My wonderful hubby told me that he loved this cheesecake, but he said it would be even better with some sort of topping to go with it. So grab a can of your favorite pie filling or toss on some fresh fruit to jazz up this dessert.

If you're in a hurry just use a store bought graham cracker pie crust. They save time and if you're like me and can't make a homemade crust even (hehe) it'll look nicer too. ;)

BUT if you want to make your own crust, here is a quick recipe for that too:

1 sleeve of graham crackers (usually about 6 or 7 crackers)
1/3 cup melted butter
1/4 cup sugar

Crush graham crackers into a fine powder. (This is when I love having a food processer) Mix in sugar and then add butter. Mix well and then press evenly into a 9 inch pie tin. Refrigerate 1 hour before adding pie filling.

Monday, April 12, 2010

Chicken Pockets

I'm all about a quick and easy dinner. When life is hectic (as it so often is with a toddler running all over the house...) I just want something tasty that won't take me an hour to make. Chicken Pockets to the rescue!

I've had several similar recipes of this fall into my lap, but the best by far came from my cousin-in-law Colie. Thanks for sharing this wonderful meal with me and my family!

What you need:

2 crescent roll packages (8 count each)
1 can of chicken chunks (about 14 oz)
1 8 oz package cream cheese
3 green onions, chopped
1/4 cup melted butter
1 column of Ritz crackers, crushed
1 can cream of chicken soup

In a mixing bowl combine cream cheese, chicken chunks and green onions together until well blended.

Unroll crescent rolls- keeping them in rectangle shapes instead of seperating them into triangles like you normally would. Each package should only make 4 rectangles. Take a large spoonful of chicken mixture and place in crescent roll, fold over and seal off edges. Be sure to seal the little holes from where the triangle slits were.


Have melted butter in 1 bowl and crushed crackers in another bowl. Place chicken pocket in butter and make sure to get it well covered. Move it to the crackers and cover both sides with them.


Place chicken pockets on a cookie sheet and bake according to the directions on the crescent roll package. (Usually 375 for 13 minutes)

While they bake, mix cream of chicken with 1 can of milk and heat on stovetop. When the chicken pockets are done baking, pour over top and enjoy!

Saturday, March 6, 2010

Crockpot Pulled Pork


My husband and I LOVE barbeque. So after trying a few places around town and thinking, "Well, that was ok, but not worth how much we paid for it..." we decided to make pulled pork ourselves.

This recipe is SO easy. It's perfect for letting the roast cook while you're at work and then will be ready about an hour after you get home.

What you'll need:

Either a Boston Butt or Picnic pork roast- (these two "shred" the easiest.)
1 small-medium yellow onion sliced into large chunks
1 1/4 cup water- it really doesn't matter how big your roast is. As long as it fits in your crock pot, always use the same amount of water.
salt
pepper
BBQ sauce
hamburger buns

Salt and pepper the outside of the roast (usually just a light even coat on both sides). Place roast and onion chunks in crock pot with water and cook on low for 6-8 hours. Drain liquid and take out onions. Shred pork and add about 1 cup BBQ sauce (this really isn't exact, I just keep adding til I think it's enough) Cook on low for at least 1 hour. Stir it up every 20 minutes to make sure it isn't burning or sticking to the bottom too much.

Serve on a bun with some extra sauce and enjoy!

You can use any kind of BBQ sauce, but after trying several different brands and varieties we've decided that we like Sweet Baby Rays Original the best. We bought 2/40 oz bottles at Costco for only $5. (The smaller bottles are usually around $3 at the grocery store so this was a STEAL!)